 CAMPGROUNDER
Put it away right, and it's ready in May
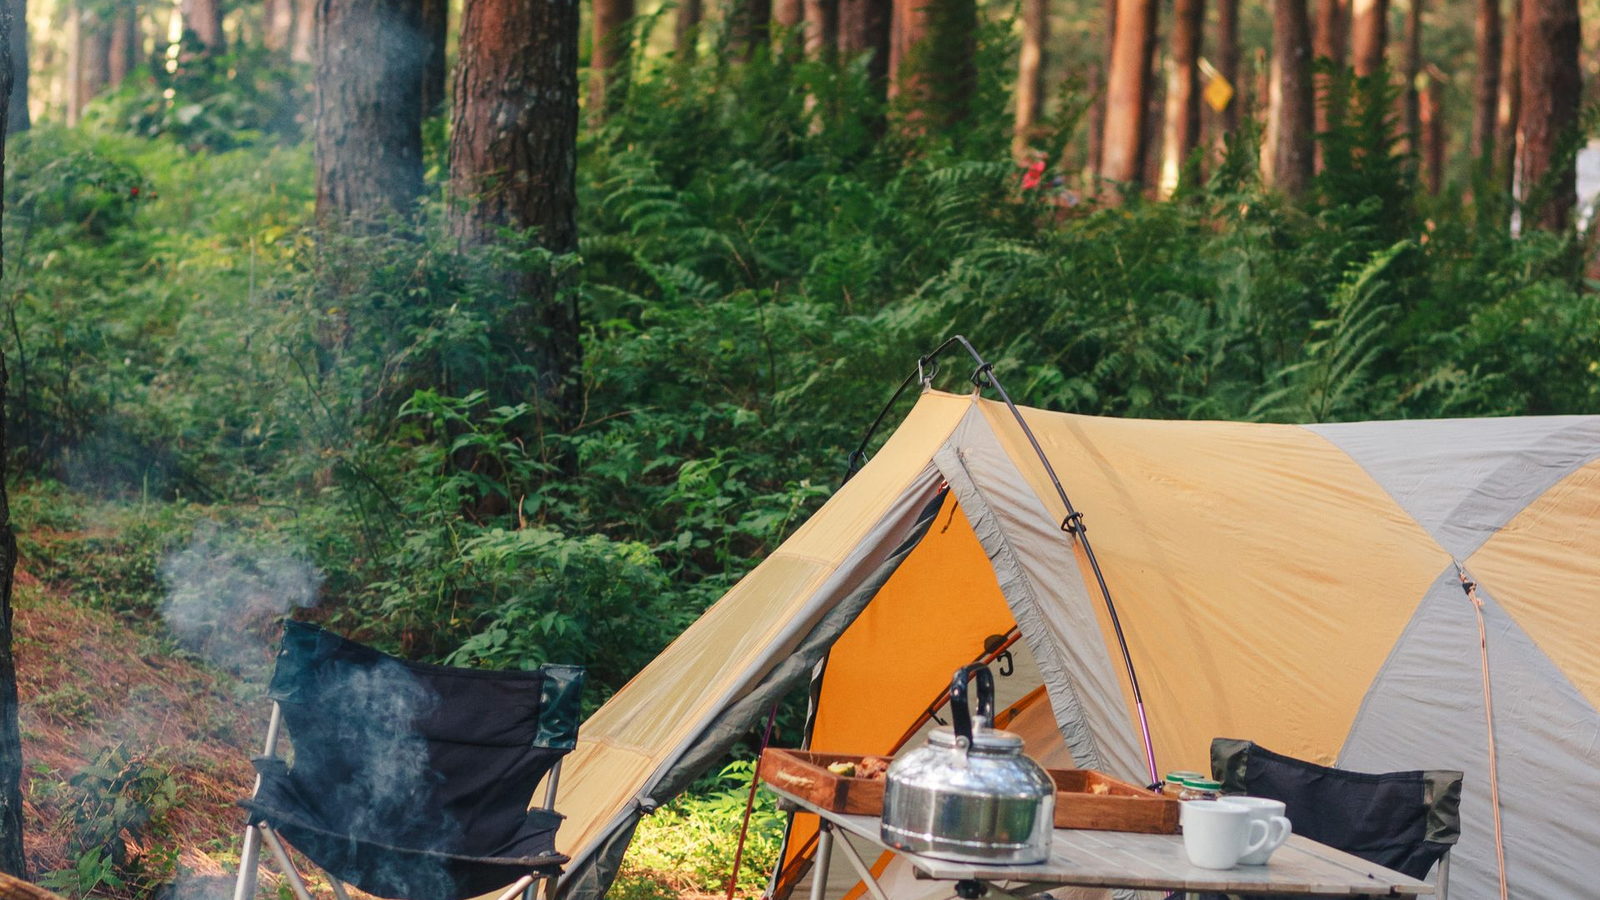
Most camping gear doesn't wear out on trips. It wears out in the garage. A tent that went into its bag a little damp in October comes out in May smelling like a basement, with a coating that's gone tacky. A sleeping bag that spent the winter crushed in its stuff sack has lost some of the loft that kept you warm. And a headlamp with batteries left inside it can greet you with a crust of white corrosion where the contacts used to be.
None of that takes long to prevent. Give it one wet weekend afternoon and a clear corner of the house. Here's the order we do it in.
01Dry everything for longer than you think
This is the one that matters most. Tent fabric is waterproof because of a polyurethane coating on the inside, and that coating breaks down when it sits wet. MSR calls the process hydrolysis: the coating goes soft and sticky, and stops keeping water out. In warm weather, a tent left wet for about a day can start growing mildew. MSR's warranty doesn't cover either one.
So pitch it once more in the yard on a dry afternoon, or hang the body and the fly over a clothesline, a deck rail or the shower rod. Turn the fly inside out halfway through. Do the footprint too, and empty the stake bag, which always holds a little mud and a little water. Anything that went in the bag damp at the campground comes out now, even if you're sure it dried on the drive home.
02Clean it gently, then let it dry again
Shake the sand and pine needles out of the tent, then spot clean with a damp sponge and cool water. Skip household detergent. Sea to Summit says it can damage the waterproof coating, and a washing machine is worse. If the tent needs more than a sponge, use a cleaner made for the job, like Nikwax Tent & Gear SolarWash.
Rain jackets are the opposite. They work better clean, because dirt and body oil stop the outer fabric from beading water. Wash them with Nikwax Tech Wash rather than regular detergent, which can leave a residue that attracts water. Hang everything until it's fully dry.
03Fix what broke while you still remember
In October you know exactly which zipper stuck and which pole section slipped. By May you'll have forgotten, and you'll find out at the trailhead. Go over the gear now:
Seams. If the tent wept at a seam, reseal it from the inside with Gear Aid Seam Grip and let it cure flat. Holes. A small tear in a fly or a down jacket takes a patch of Tenacious Tape, rounded at the corners so it doesn't peel. Zippers. Brush the grit out of the teeth and run a zipper cleaner and lubricant along them. Poles. Look for cracked ferrules and tired shock cord. Most makers sell replacement sections.
Then write down what you couldn't fix and what you ran out of. That list is next spring's shopping, and it's far more useful written in October.
04Give the sleeping bag room to breathe
A sleeping bag keeps you warm with loft, the air trapped in the insulation, and a winter crushed in a stuff sack costs some of it. Take it out of the stuff sack for the season. Sea to Summit recommends storing it loose in a big cotton storage sack, indoors, somewhere shaded and ventilated. Hanging it in a closet works too. Stuff synthetic bags into the sack rather than folding them, because folding along the same lines can break the fibers.
Bags don't need washing every year. When one does, Sea to Summit's advice is a front-loading machine on a gentle cycle (never a top-loader with an agitator), a down-specific soap such as Nikwax Down Wash Direct, and a long, low-heat dry with wool dryer balls to break up the clumps. It's done when you can't feel a single clump.
05Store sleeping pads open
Self-inflating pads have foam inside that needs to stay expanded. Therm-a-Rest says to store them flat with the valve open, and suggests the places their own staff use: under a bed, behind a couch, at the back of a closet. Air pads are less fussy, though makers differ. Therm-a-Rest says rolling one up for the off-season is fine. Sea to Summit prefers loosely folded with the valve open. Either way, check for leaks first: inflate it overnight with something heavy on it and see what you have in the morning.
06Empty the kitchen, then check it
Crumbs are the reason mice move into gear bins. Wash every pot, mug and utensil, wipe out the stove, and shake out the kitchen bag. Unscrew the fuel canister from the stove and store it away from flames, which means away from the furnace and the water heater too. Click the igniter a few times to make sure it still sparks. For a liquid-fuel stove, clean the jet the way the maker's manual says to.
Clean the cooler, dry it, and store it with the lid propped open. A closed cooler with a little water in the drain is how you get the smell.
07Keep the water filter indoors
Hollow-fiber filters like the Sawyer Squeeze have a quiet weak spot: once they've been wet, freezing can crack the fibers in a way you can't see. Sawyer's guidance is to replace any filter you think has frozen. So backflush it before storage, the way Sawyer recommends, let it dry, and keep it in the house, somewhere cool and dry and out of the sun. Not in the truck, not in the garage. Backflush it again in spring to wake the fibers up.
Hydration bladders grow things if they're put away even slightly wet. Scrub the tube and the bite valve with a bladder cleaning kit, then hang the bladder open until it's bone dry inside.
08Take the batteries out
Pull the batteries from headlamps, lanterns and anything else that takes them. Left in for months, they can leak and corrode the contacts, and that's often the end of the light. For the rechargeable stuff (power banks, lanterns, the camp speaker), don't store it full or flat. Apple's advice for its own devices is a good rule for all of it: charge to about half, keep it somewhere cool and dry under 90°F, and top it back up to half if it's going to sit longer than six months.
09Look after the boots
Brush off the dried mud, pull out the insoles and laces, and let everything dry at room temperature. Keep them away from the heater, which can crack leather and weaken glue. Stuff them with newspaper to hold the shape and soak up what's left of the damp. Leather boots get a coat of a leather wax before they go on the shelf, so they don't come out dry and cracked in spring.
10Choose where it all lives
Cool, dry and dark, and ideally inside the house. Attics and garages swing from hot to freezing, and that swing is hard on coatings, glue, batteries and water filters. A closet shelf will treat your gear better than a garage rafter.
If the garage is the only option, plan for mice. Pest control company Terminix recommends sealing any gap the size of a dime or larger, and keeping anything that smells like food in hard plastic containers. Hard latching plastic bins keep out mice. A small a rechargeable silica canister in each one handles the humidity, as long as everything went in completely dry. Label the bins by what's in them, and tape a list to the inside of each lid so you know what you have before you open it.
The list for next year
The best thing you can pack away this month is a list. When you open the bins in spring, check them against The Perfect Campsite Pack List from our Camp Store, the printable we made for exactly this. It's the cheapest fix there is for leaving the headlamp on the kitchen counter, and it never sells out.
And when the first warm weekend comes, the places worth going will already be booked. Find the one you want now, and set a cancellation watch for your dates.
Plan the first trip of spring →How should I store my tent? (MSR / Cascade Designs)
How should I store my Therm-a-Rest sleeping pad? (Cascade Designs)
How to clean, fix and store your gear (Sea to Summit)
Water filtration FAQs (Sawyer)
Maximizing battery life and lifespan (Apple)
How to help mouse-proof your garage (Terminix)
Amazon links are affiliate links and earn us a small cut. We haven't been paid or sent products by any of the makers named here.